# Traccar Description
Traccar 是一个开源的 GPS 追踪程序,试用了一下,感觉还行,下面是官方的简单描述
# Overview
Traccar is an open source GPS tracking system. This repository contains Java-based back-end service. It supports more than 170 GPS protocols and more than 1500 models of GPS tracking devices. Traccar can be used with any major SQL database system. It also provides easy to use REST API.
Other parts of Traccar solution include:
There is also a set of mobile apps that you can use for tracking mobile devices:
# Features
Some of the available features include:
- Real-time GPS tracking
- Driver behaviour monitoring
- Detailed and summary reports
- Geofencing functionality
- Alarms and notifications
- Account and device management
- Email and SMS support
# Deploy Traccar
我这边的部署环境选的是 CentOS 8,需要安装 Java 环境和 Mysql 数据库,我这边之前已经安装过 Java 和 MariaDB 数据库了,就不演示了
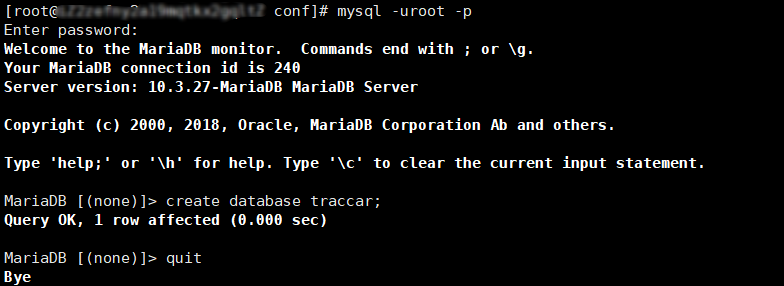
首先登录数据库,创建一个名为 traccar 的数据库,创建完后退出数据库
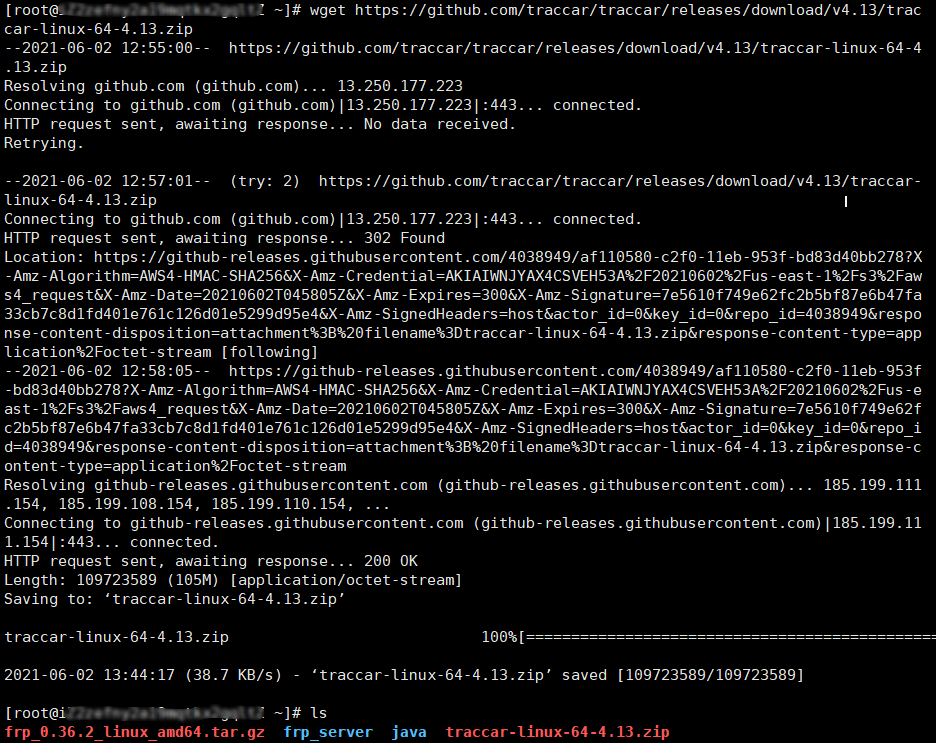
然后用 wget 命令下载 traccar 对应版本的二进制文件
wget https://github.com/traccar/traccar/releases/download/v4.13/traccar-linux-64-4.13.zip |
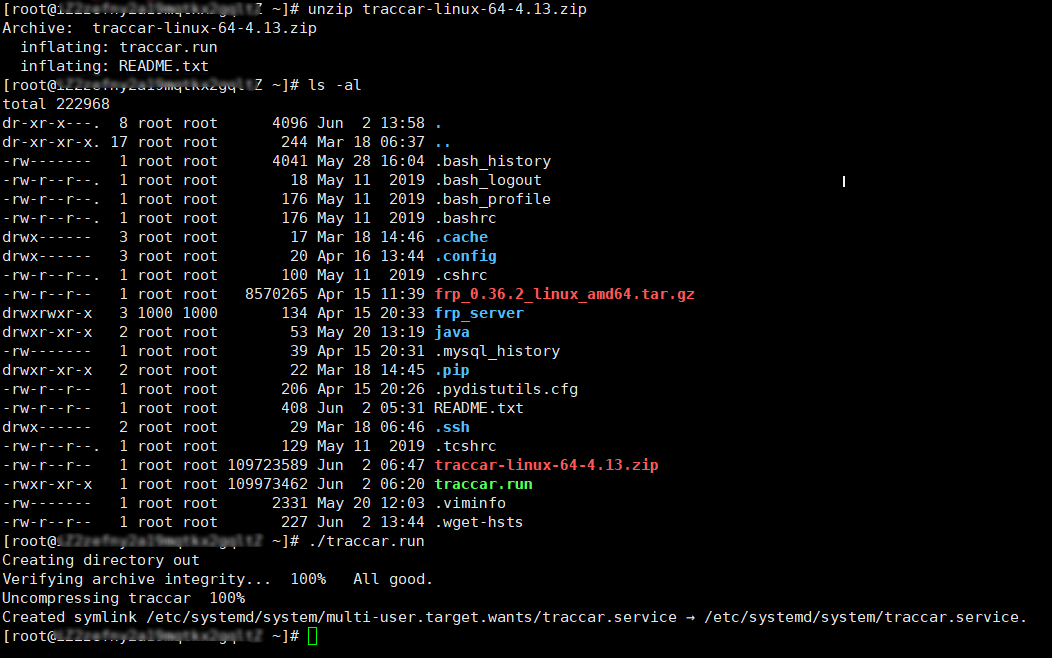
下载完后,用 unzip 命令解压,解压出来后直接执行 traccar.run 脚本进行安装
安装完切换到 /opt/traccar/conf 目录,用 vi 命令编辑 traccar.xml 文件
<?xml version='1.0' encoding='UTF-8'?> | |
<!DOCTYPE properties SYSTEM 'http://java.sun.com/dtd/properties.dtd'> | |
<properties> | |
<entry key="config.default">./conf/default.xml</entry> | |
<entry key='web.port'>8080</entry> | |
<entry key='geocoder.enable'>false</entry> | |
<entry key='database.driver'>com.mysql.jdbc.Driver</entry> | |
<entry key='database.url'>jdbc:mysql://localhost/traccar?allowMultiQueries=true&autoReconnect=true&useUnicode=yes&characterEncoding=UTF-8&sessionVariables=sql_mode=''</entry> | |
<entry key='database.user'>root</entry> | |
<entry key='database.password'>你的数据库密码</entry> | |
<entry key='server.timeout'>120</entry> | |
</properties> |

配置完后启动 traccar 服务,并添加开机启动
systemctl start traccar && systemctl enable traccar |
在浏览器输入 http://ServerIP:8080 访问测试是否正常
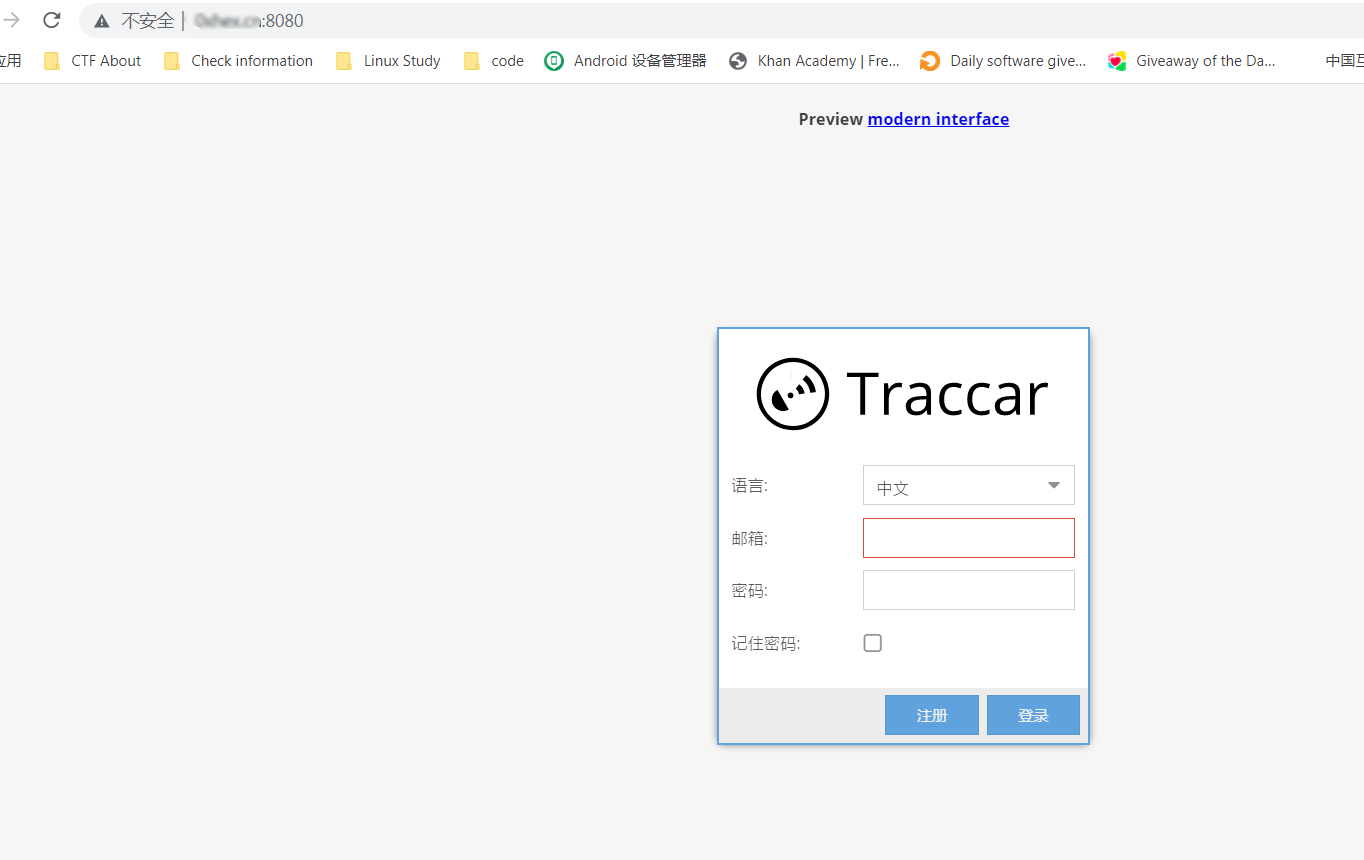
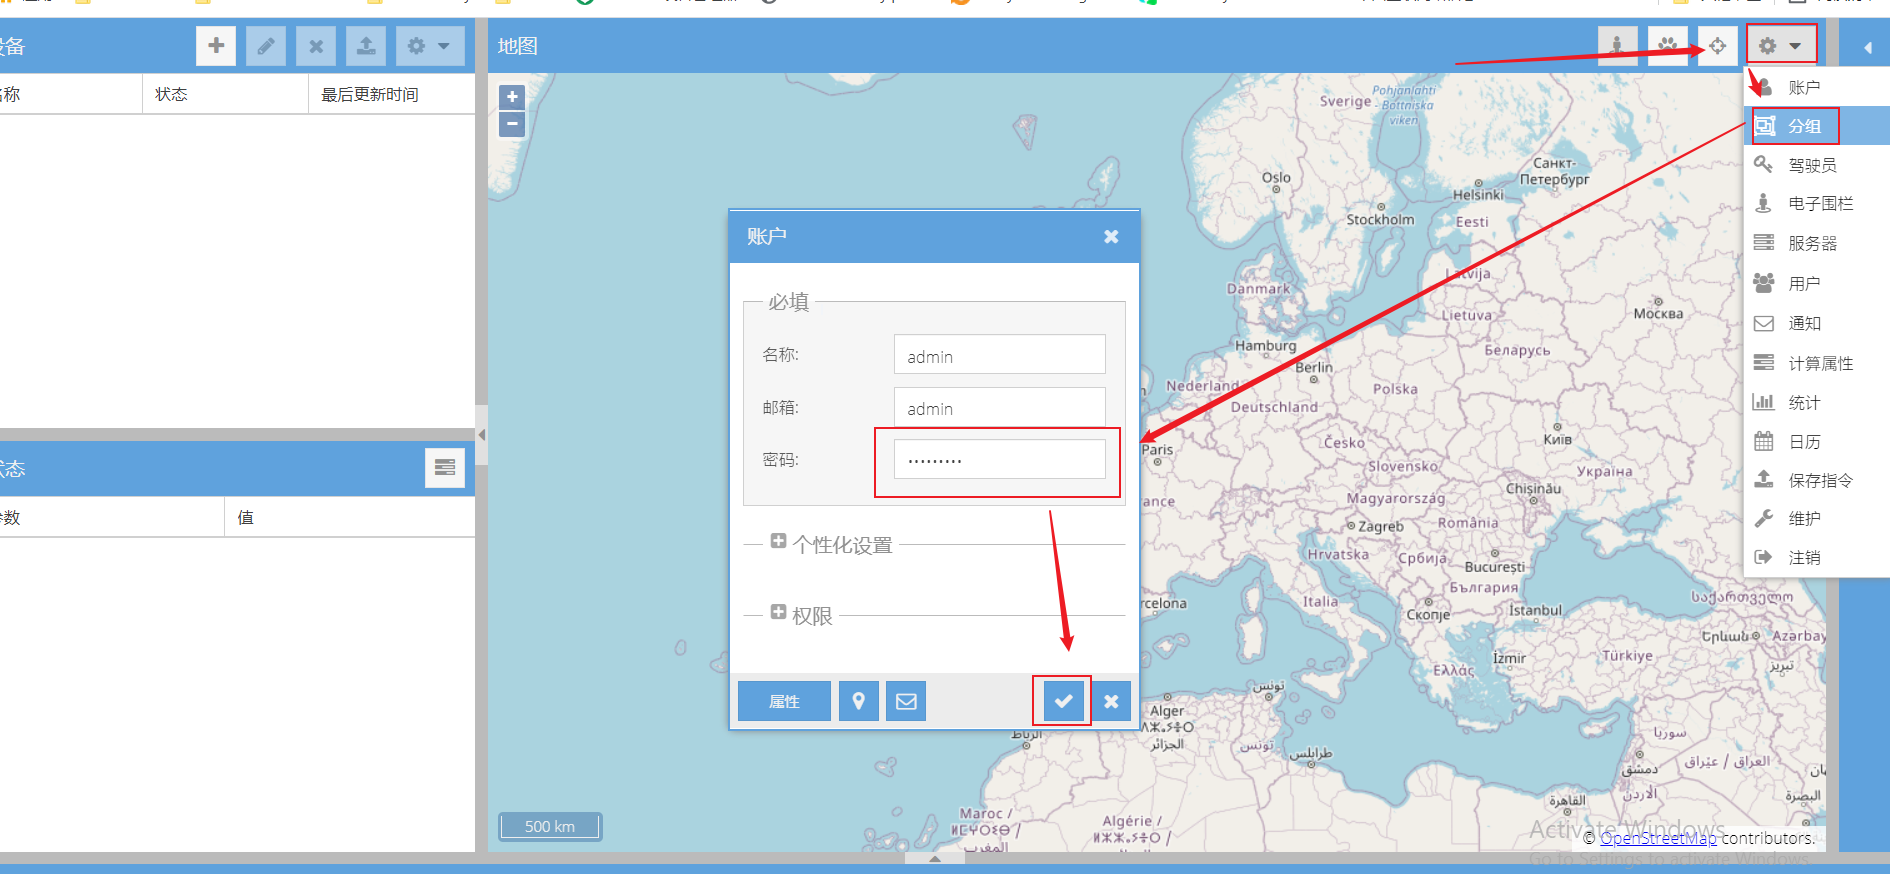
初始邮箱和密码为 admin , 登录后记得修改一个安全的密码
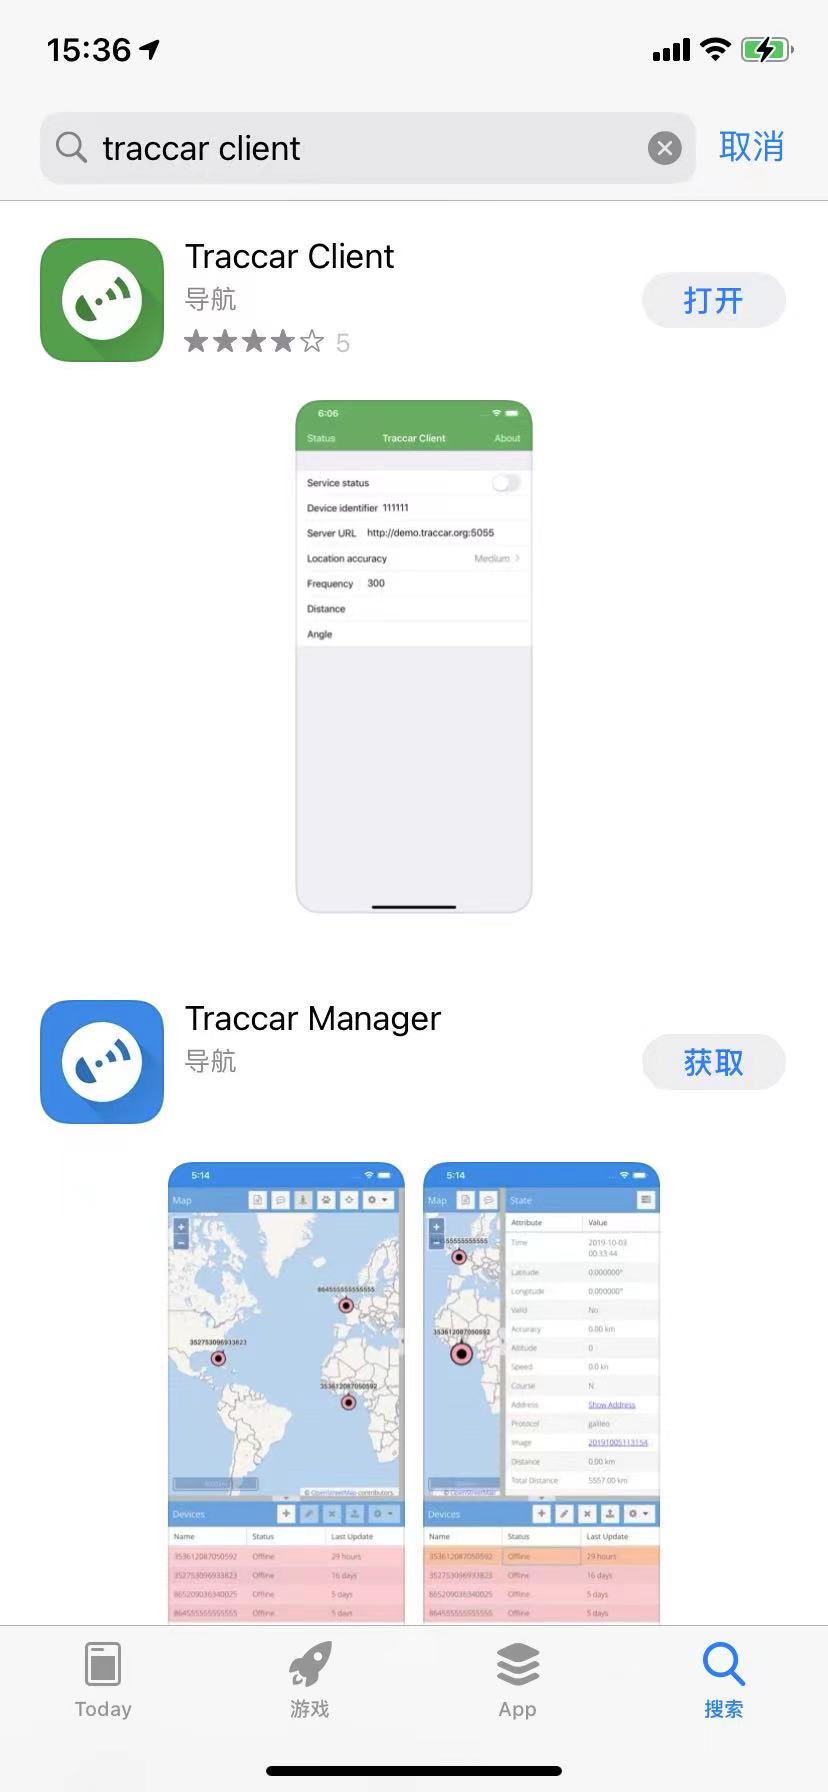
接下来在手机端安装 client,我这边用的是 iOS 设备作为测试,打开 APP Store ,搜索 Traccar client ,第一个就是,然后点击下载安装
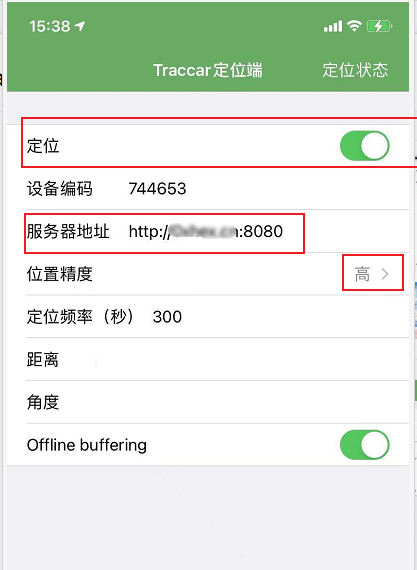
下载完后打开 app,填写你的服务器地址,位置精度默认为中,这里可以选择高,记住这个设备编码,然后开启定位功能即可
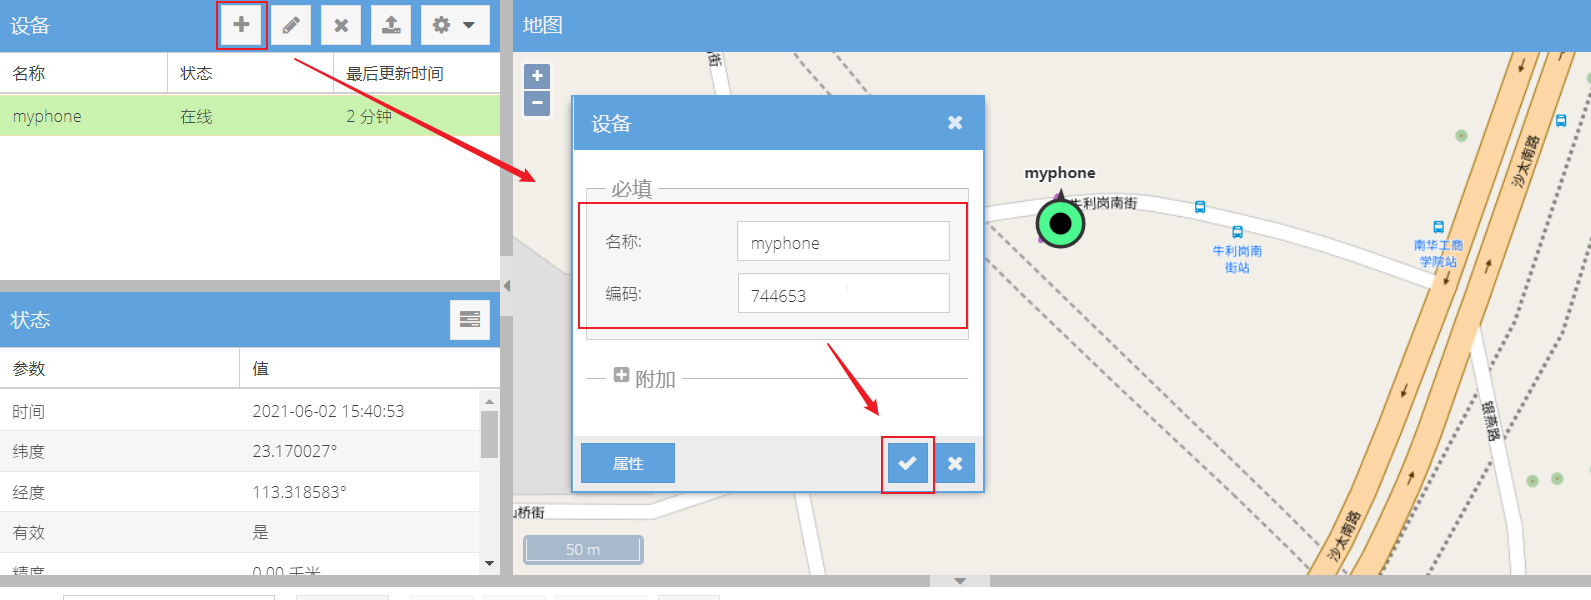
回到我们的服务器控制台,在设备这里添加上我们的设备就可以看到该设备的具体位置了,测试定位还算是精准
好了,主要功能就这些了,还有通知事件维护这些就不测试了,感兴趣的自己摸索吧
# Tag
最后还是吐槽一下吧,这里图层数据全部都是来自于国外,国内的地图数据大部分都已经多年未更新,而且速度还贼慢
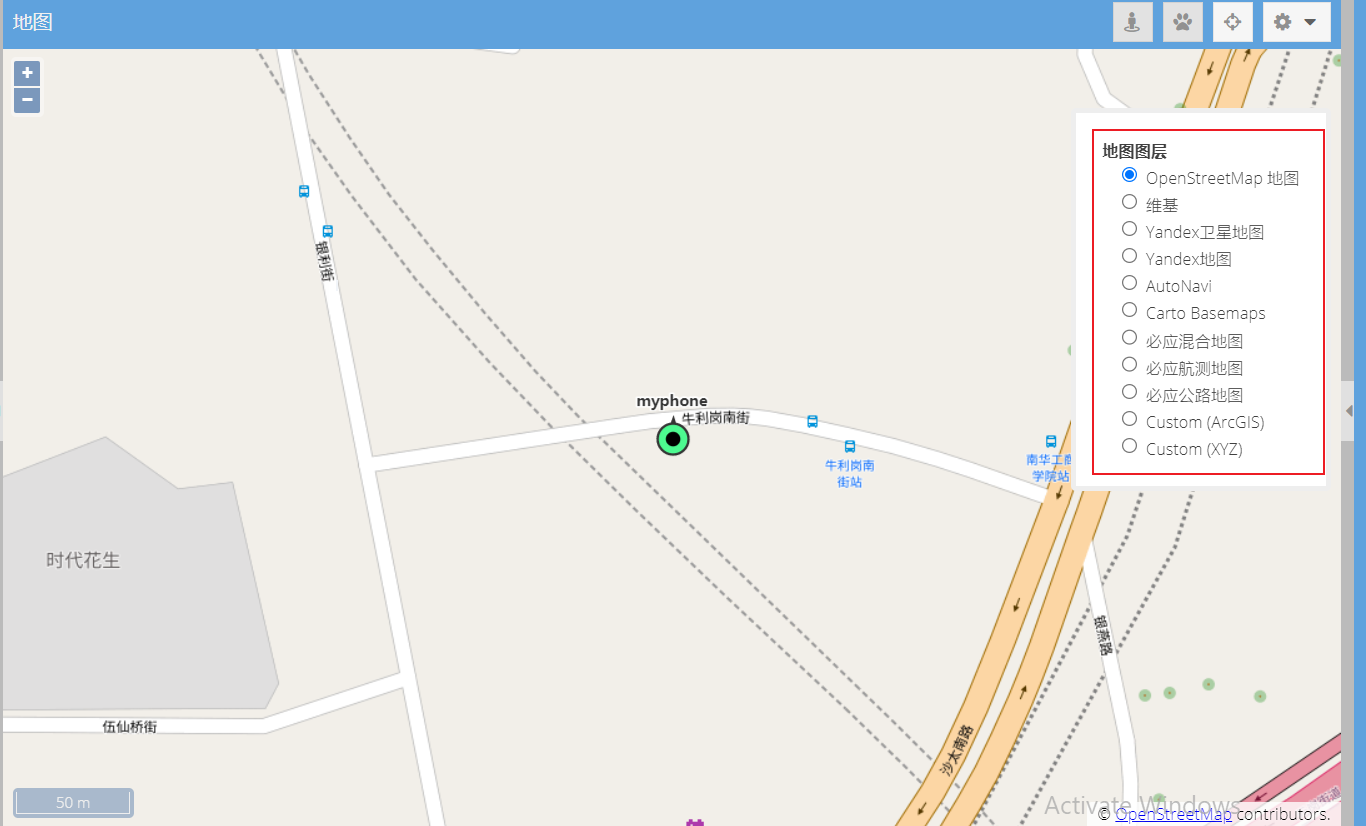
不过这个应该挺好解决的,毕竟是开源的,修改或添加一个国内的 API 接口就可以了,后续有时间再折腾一下
官方网站:www.traccar.org
二进制文件:https://www.traccar.org/download/